Thursday, June 9, 2011

Perfect Summer Meals: part 1, Scallop Tacos

Summertime, and the livin's easy.... So should should be the meals! Light, easy, and taking advantage of summer crops.

I'll start this series off with the other nights dinner: Scallop Tacos with Cabbage Slaw with Avocado Sauce.


We substituted the scallops with codfish, but followed all the other directions to a T and it was wonderful. The original recipe is posted below, and I see why they used scallops for a more 'meaty' texture. The cod was a decent substitute however, so try either version. This recipe was taken from Weber.com, so there are a lot of grilling instructions.


Scallop Tacos with Cabbage Slaw with Avocado Sauce


Sauce:
1 large Hass avocado, diced
1/2 cup water
1/4 cup loosely packed fresh cilantro leaves and tender stems
1 large jalapeño chile pepper, seeded
1 tablespoon fresh lime juice
1 large garlic clove


Kosher salt
Ground black pepper


Marinade:
3 tablespoons extra-virgin olive oil
Grated zest of 1 lime
2 tablespoons fresh lime juice
2 large garlic cloves, grated or minced


24 sea scallops, each 1 to 1-1/2 ounces
1 cup thinly sliced green cabbage, rinsed under cold water
1/3 cup thinly sliced red onion, rinsed under cold water
8 corn or flour tortillas (6 inches)


Directions:

-In a blender combine the sauce ingredients and process until smooth. Season with salt and pepper. Transfer to a small serving bowl. Set aside at room temperature until ready to serve.
-In a large bowl whisk the marinade ingredients, including 1 teaspoon salt and 1/4 teaspoon pepper. Remove the small, tough side muscle that might be left on each scallop. Add the scallops to the marinade and turn to coat evenly. Cover and marinate at room temperature for 15 to 20 minutes while the grill preheats.
-Prepare the grill for direct cooking over high heat (450° to 550°F).
-In a medium bowl combine the cabbage and onion.
-Brush the cooking grates clean. Lift the scallops one at a time from the marinade, letting the excess marinade drip back into the bowl. Discard the marinade. Grill the scallops over direct high heat, with the lid closed as much as possible, until lightly browned and just opaque in the center, 4 to 6 minutes, turning once or twice. Remove from the grill.
-Warm the tortillas over direct high heat for about 10 seconds on each side.
-Fill each tortilla with some of the cabbage mixture and three scallops. Top with the sauce and serve right away.

*For some, my picture upload site is having some problems, so please don't mind how the pictures are cut off... you should be able to get the idea.


Thursday, June 2, 2011

Grilled Scup

I've said it once, I'll say it again: nothing beats a man that works in the fishing industry! Myself still being a rather fish novice, he brought home a Scup fish for me to try...


He also found this recipe that was quite nice, and I think would work with several other types of fish. You do need a whole intact fish for this recipe, so keep that in mind. Squeamish need not apply! I don't mind scaling a fish, but I'm not a fan of the gutting part. However, if you're up to this, or happen upon a fresh Scup, please give this a try. I will also say, as a word of advisement, you can NOT substitute dried rosemary for fresh in this recipe -I learned the hard way! Another hard lesson was make sure you OIL THE GRILL grates before placing the fish on the grill!

Grilled Scup With Herbs 


4  Scup, about 1-1/2 lb  

5 sprigs fresh rosemary 

3 tbsp. fresh Parsely 

1-1/2 tsp. Salt 

Freshly ground pepper

1 Garlic clove 

1/3 cup Olive oil 

2 Lemons

Clean and scale the fish, leaving on head and tails if desired.  
Chop the garlic, rosemary and parsley together, add the salt and pepper and a few drops of oil to for a paste.
Make three slits on both sides of each fish. 
Spread some paste in the slits as well as the cavity. 
Combine juice of 1 lemon with remaining oil. 
Grill fish, not too close to coals or heat, basting with oil-lemon mixture. 
Cook about 6 minutes to a side, letting skin get crisp. Serve with lemon slice.


*Recipe courtesy American Seafood Institute, Wakefield, RI


Scup

Cleaned and scaled fish with slits

Herb paste in processor 

Herb paste applied to fish  

Scup on the grill with some corn 


Monday, May 30, 2011

Happy Memorial Day

I hope y'all have a happy and safe Memorial day. While you're firing up the grill and opening a drink, pour out a little for all those men and women who have ever served in the Navy, Army, Air Force, Coast Guard, Marines, or any American service branch for our country. God Bless.


The Star Spangled Banner

Momma Look Sharp from 1776 (Revolutionary War)
 

A compilation of Civil War Songs 


Over There (WWI)

40 Cups of Coffee (Korea) 


Fortunate Son (Vietnam) 


Freedom (Gulf War/ Desert Storm) 


Courtesy of the Red White and Blue (War on Terror)

Wednesday, May 25, 2011

Please excuse me...

I haven't written in quite a while, and I apologize for that. First off, Blogspot was having technical difficulties -so I couldn't post even when I tried! That was ok though because I had a dear friend and her newest little one visiting up here from down south for a long weekend. The blog problem seems fixed now, so that's good.

All that aside, it still may be a little bit before I go back to posting as usual, due to a family crisis. Everyone is fine, just some major adjustments are going on currently.

I hope to resume posting quickly though, as the garden and the baby chicks have really taken off and I can't wait to update y'all on their progress.

Thursday, May 12, 2011

Baby chicks Day 2, Seed re-start

Pictures of the babies of day 2 in their new home here. If you missed the pictures of their arrival yesterday, check out my previous post. Obviously not much of a change from then till now -except they've learned that when the hatch to their coop is opened, it means they are going to get scooped up for cuddling -so they run!


As for my seeds, some didn't sprout at all, and some that did, haven't done to well. So today I replanted Lavender, Arugula, Boston and Nevada lettuce, Snap beans, and Cucumber. Lets hope these do better! I have much more ghetto containers this time around, but have a good feeling about them. I believe over watering hindered the Lavender last time, just like to much sun exposure to early killed my lettuces.


The beans and cukes I'm trying to grow the way I did when I was little. The zip-lock baggie and moist paper towel method taped to the window. I will probably do more zucchini this way too because not enough sprouted in the traditional method.


However, some of what I planted previously is thriving. The sunflowers are already placed outside and are doing well, along with green onions and flat leaf parsley outside as well. One snap bean from the first planting has really taken off, and the rest are right along schedule. Hopefully tomorrow brings good enough weather to finish tilling the garden.


Left to right 6 packs: Cayenne peppers, Jalapeño Peppers

Left to right by rows grown: Musk Melon, Snap Beans, super hot Jalapeño Peppers  


Left to right by rows: Tomatoes, tomatoes, tomatoes, summer squash, zucchini, yellow onion 

New Arrivals...

BABY CHICKENS!


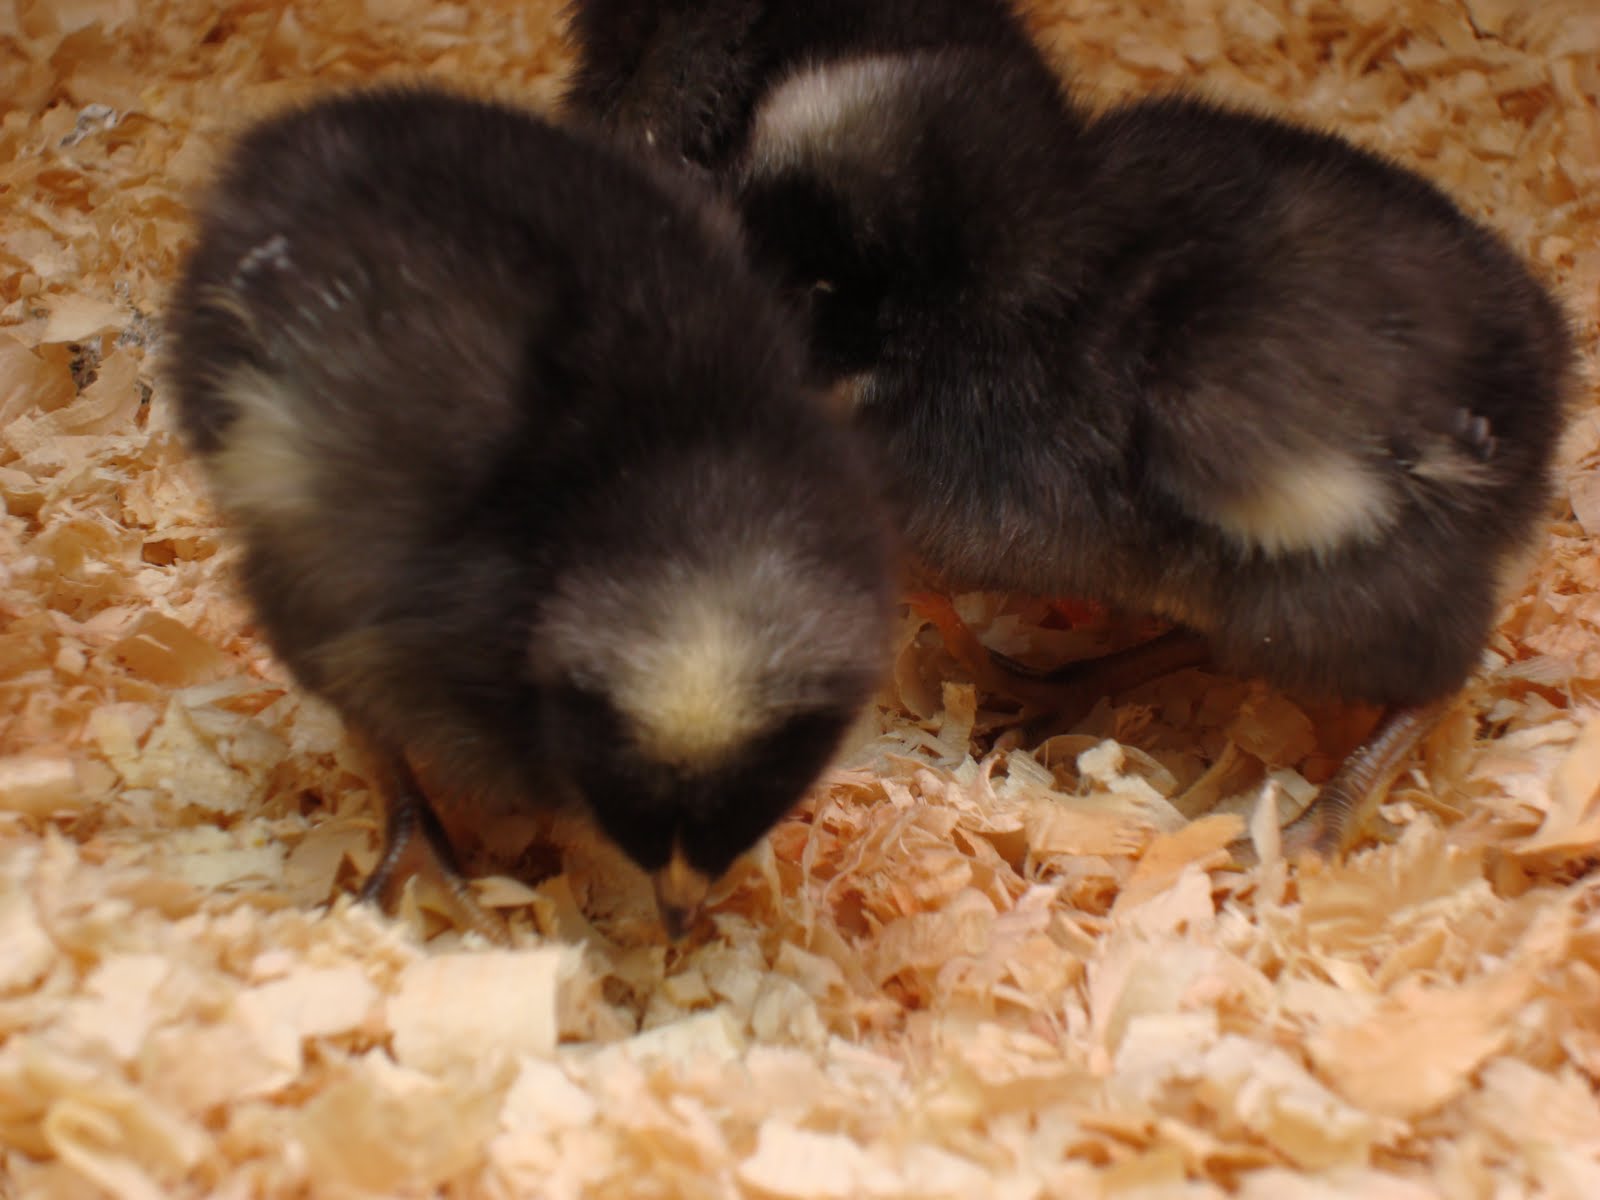
Hooray! Our baby chicks arrived yesterday! These will be our new batch of layers. They are a variety of Plymouth Rock chickens called Barred Rocks. When they grow up, they will be that beautiful black and white striped colour. But for now, they are the cute little fuzzy chirping bundles of black and yellow joy.

Arrival:


New home:


Prepare for cuteness!


These chicks arrived from Ohio 3 days old. Yes, they come via Postal mail. And if you happened to wonder why the waterer is holding a yellow liquid, it's a special electrolyte solution for the babies. Basically,  Pedialyte or Gatorade for chicks. They also have a special diet for the next several months until they mature. I'm not really sure when they will stop needing the heat lamp, but they definitely need it now. 

My boyfriends parents ordered 50 chicks, but we only took these 8 as that is all that our coop will contain as adults. All in all, that's a lot of eggs!

Sunday, May 8, 2011

Meatballs: A classic

Somehow I have neglected to post the recipe for my favorite pot-luck or having a crowd over classic: Meatballs! If I know a crowd is coming by, this is my go-to prepare ahead and don't fret food. I usually make this for card game nights. It's perfect because all the ingredients are pantry staples, so you never need to wonder "...do I have the stuff to make this for tonight?" It does take a bit of prep, but all the steps are well worth the results!

Here is my no-fail recipe that is always received extremely well. Tonight I'm making it just for us (over linguine) -which will leave plenty of leftovers for yummy meatball sandwiches later in the week.

Meatballs

1 Lb. ground Hamburger
1/2 cup dry bread crumbs
2 tbsp. Onion, finely chopped
1 tsp. Salt
1 tsp. Worcestershire sauce 
1 egg, beaten 

You will also need: 
Spaghetti sauce (26 oz. can)
Shortening
Skillet 
Parchment or wax paper
Baking pan 
Crockpot 

-Preheat oven to 400 degrees. 

-Mix all ingredients together in a large bowl. Using your hands is by far the easiest and most practical way to make sure all the ingredients are thoroughly integrated

-Form the mixture into balls approx 1" round. Place formed meatballs onto parchment paper.

-Heat up enough shortening in your skillet to cover pan about 1/4" deep.

-Place meatballs in skillet, working clockwise (so you remember which ones you put in 1st). Try not to overcrowd your pan. Basically; by the time you place in your last meatball, it's time to turn over your next [continuing in order of clockwise placement]. Keep rotating meatballs as needed to brown on all sides. You are not looking to cook the meatballs, but just to brown them evenly for a crispy skin.

-Place browned meatballs in baking pan. You will most likely have to do 2-3 batches of meatballs in the skillet to finish them all.

-Bake browned meatballs at 400 degrees for 20 minutes.

-Put spaghetti sauce in crock pot, warm on low while meatballs are cooking.

-Take meatballs out of oven when done, and stir into crock pot. Cook on low for 2 hours before serving, or for 1 hour on high.

Serve over pasta, in buns, or straight up.


Feel free to jazz up this recipe -this is just the basic no-fail base. Other additions that work well are using 1/2 lb ground hamburger and 1/2 lb ground pork, fresh parsley (finely chopped), and grated parmigiana cheese into the meat mixture.

Making the meatball mixture:


Cooking the meatballs:


  Adding meatballs to the sauce for a finished meal.


Yum! Enjoy...!